
If your team has changed its logo, or a name was stitched on the wrong shirt, you may be hoping to save the garment instead of replacing it. That is often possible. Just do not expect every old logo to disappear without a trace. This guide shows you how to remove embroidery carefully and what to do if marks remain.
1. Before You Start, Check Whether the Embroidery Should Be Removed
Before you start cutting, decide what result you need. A small name on a sturdy work shirt is usually worth trying at home. A large chest logo on a thin polo may come off, but the old outline can still show. If the garment needs to look presentable again, removing every thread is not the only thing that matters.
First, check whether the design is stitched directly into the garment or is a separate patch. If it is a sewn-on patch, remove the stitches attaching its edge to the garment. You do not need to unpick the design itself.
Look at the Fabric and Stitch Density
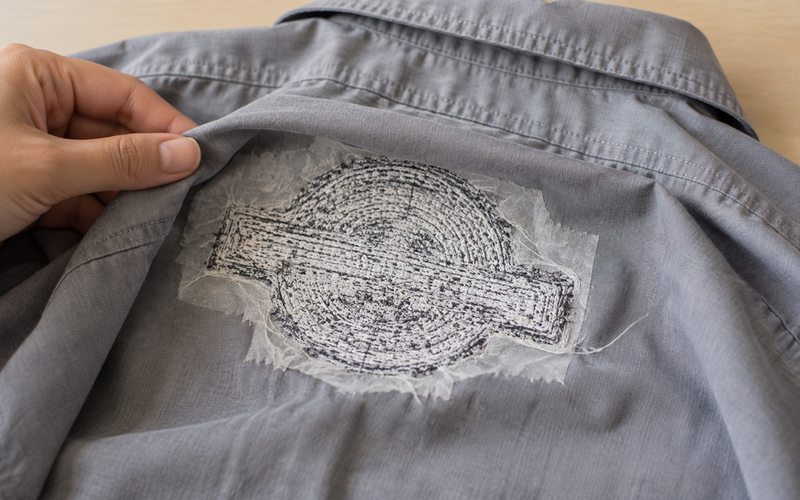
Turn the garment inside out and look at the back of the design. Dense rows of bobbin thread usually mean a lot of needle holes in one small area. After removal, the area may still look flattened, or the old outline may remain visible. Be especially careful with thin cotton, silk, loose weaves, and older garments that have already been washed many times.
Check Whether It Is Machine or Hand Embroidery
Most company logos, uniform names, and cap embroidery are machine made. They are tight and usually easier to release by cutting the threads on the back. Hand embroidery is often looser, but the thread path can be less predictable. Follow the thread back to its end instead of cutting through the front at random.
Know When Covering It Is the Better Solution
If removing the stitches is likely to damage the garment, covering the old embroidery may be a better option.
2. Tools You Need to Remove Embroidery Safely
You do not need a complicated kit. Good light and a steady table matter more than trying to remove the stitches quickly. If this is your first time, test a small hidden part of the embroidery first.
Seam Ripper or Fine Embroidery Scissors
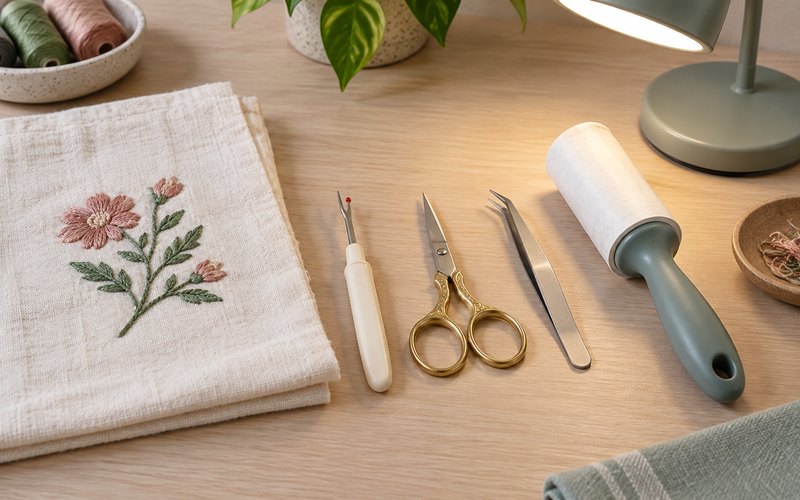
For most shirts, start with a seam ripper. It lets you release one or two back threads at a time, which is exactly the control you need. Fine embroidery scissors can also work when the thread is easy to see. Large household scissors are a bad shortcut because they can catch the fabric with the thread.
Tweezers, Good Light, and a Lint Roller
Use tweezers only after a thread has come loose. Pulling too early is how a small hole becomes a tear. A desk lamp helps with small lettering, and a lint roller or tape clears away cut thread so you can see what is still holding the logo in place.
When an Embroidery Eraser Can Help
A stitch eraser is a small powered trimmer that cuts the back threads of machine embroidery. It can save time on dense logos and sturdy workwear.It works well on some dense machine embroidery, but I would not use it first on thin or delicate fabric. Follow its instructions and test a small area first. A seam ripper lets beginners work on a few threads at a time, but it can still cut the fabric.
3. How to Remove Machine Embroidery From Clothing?
Start from the back. Pulling tight stitches from the front can damage the fabric. Once the back threads are cut, the front stitches should lift with very little force.
Turn the Garment Inside Out First
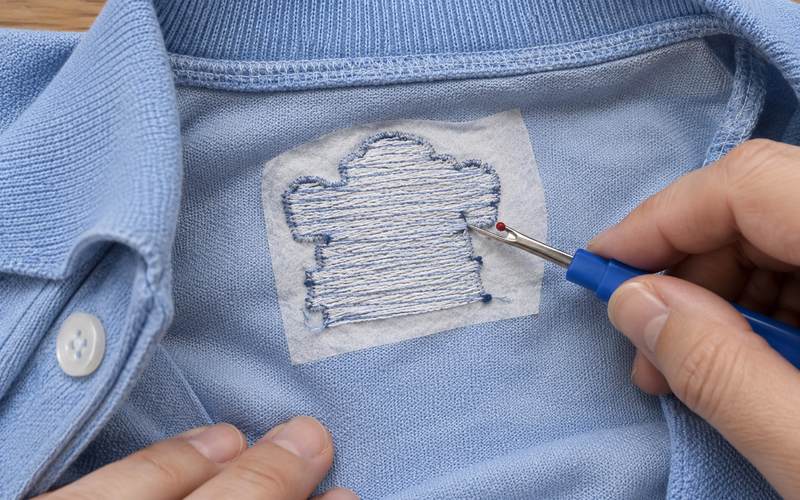
Lay the embroidered area flat with the back facing up. Find the bobbin threads, which usually form the tight lines underneath the visible logo. If there is stabilizer behind the embroidery, leave it in place while you remove the threads. It helps you see what you are cutting.
Cut the Back Threads in Small Sections
Slide the sharp point of the seam ripper under one or two back threads and cut them. Move across a small area, then stop. Do not drag the blade across the whole logo. The budget razor method seen in some videos can work on heavy, stable fabric, but it is easy to cut or roughen the material. For a shirt or polo you want to keep, the slower seam-ripper method is the safer choice.
Pull Loose Threads From the Front Gently
Turn the garment right side out. The top thread in the section you cut should now lift easily. Use tweezers to pull it out with a light touch. If it resists, turn the garment back over and cut another back thread. Do not pull harder. Resistance usually means a thread is still holding the stitch.
Repeat Slowly Instead of Pulling Hard
Work across the logo in small sections. Large, dense designs take time, and you will switch between the front and back more than once. Do not rush this part. If the fabric starts to pull or a thread will not release, stop and cut another back thread.
4. How to Remove Hand Embroidery?
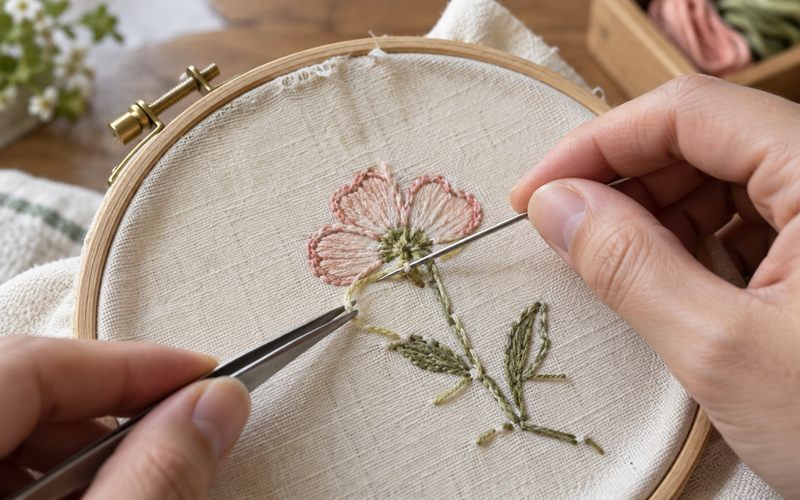
Hand embroidery is usually removed stitch by stitch. Find the knot or tail on the back first. If you cannot find it, loosen one stitch with a blunt needle rather than cutting straight into the design.
Find the Start or End Thread
Use a needle or tweezers to trace the thread to its end. Snip the thread at the knot when you can reach it, then pull the thread back through the fabric in the reverse direction.
Undo One Stitch at a Time
Hand embroidery can cross over itself in ways that are not obvious from the front. Remove one stitch, check the back, and continue. Working one stitch at a time also makes it less likely that you damage the surrounding embroidery.
Keep Nearby Stitches Protected
If you only need to remove part of a hand-embroidered design, place a finger behind the stitch you are loosening. It gives you a barrier between the tool and the work you want to keep.
5. What to Do if Embroidery Leaves Holes or Marks?
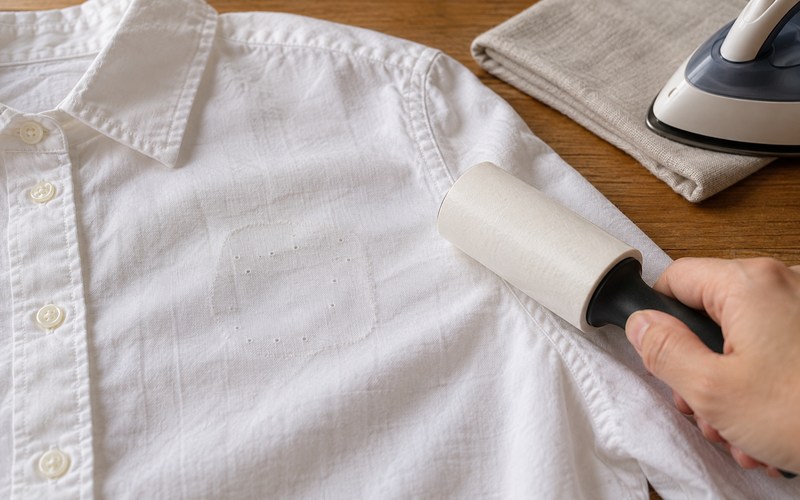
Removing the thread is only half the job. Dense embroidery can leave tiny holes, trapped fuzz, or a flat area where the old logo was. Start gently. Trying to scrape or shave the fabric usually makes the mark worse.
Remove Leftover Thread and Fuzz
Use tweezers for trapped thread ends, then roll a lint roller across the area. Avoid scratching at the fabric with a blade. That usually makes the surface look fuzzier than the old logo did.
Use Steam to Help the Fabric Settle
Follow the care label before using heat or steam. If the garment allows it, use a pressing cloth and the recommended heat setting. Let the fabric cool, then smooth it gently without pulling it out of shape. Steam may help the fabric settle, but needle holes, damaged fibers, and color differences may still remain.
Decide Whether to Cover the Area With a New Patch
If an outline remains, a patch may cover it. Section 7 explains how to check the coverage and fit before ordering one.
6. When You Should Not Remove Embroidery Yourself?
Delicate Fabrics and Thin Garments
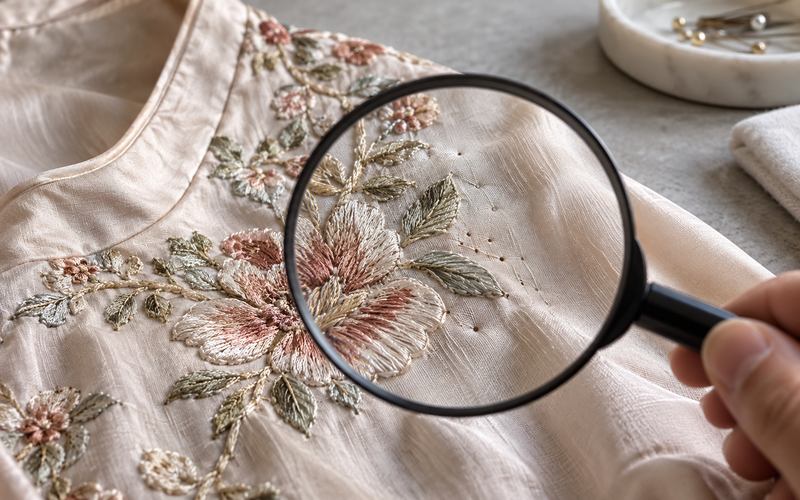
Do not use a razor, powered stitch eraser, or fast cutting method on silk, thin cotton, loose knits, or fabric that already looks stressed around the stitches. You may remove the logo but create a hole that cannot be repaired cleanly.
Large, Dense, or Old Embroidered Logos
A large logo on the chest of a polo or the front of a cap can leave a permanent flat patch, color difference, or visible needle pattern. If the garment matters to you, test a small area first. Stop if the fabric starts to pull, thin out, or show widening holes.
Expensive, Sentimental, or Hard-to-Replace Items
For a favorite jacket, a formal uniform, or anything you cannot replace, a professional alterations service is the safer choice. Bring the item in before cutting a test area. A professional can tell you whether removal or a cover patch will give the better result.
7. How to Replace an Old Embroidered Logo
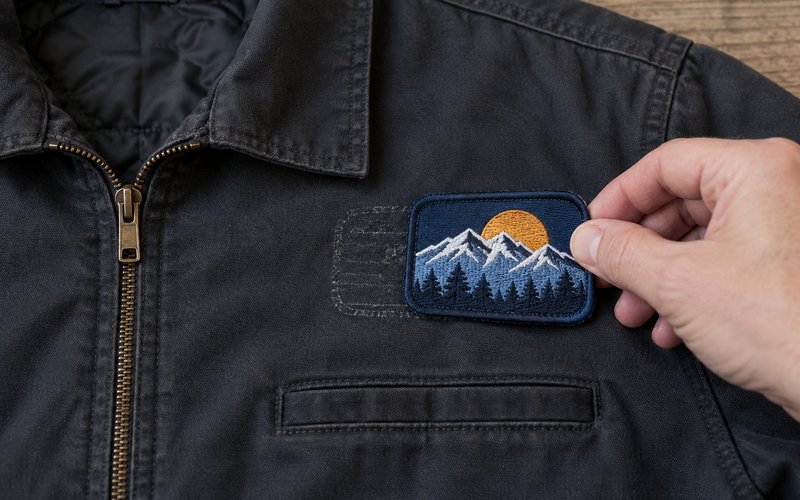
For uniforms with an old logo or visible removal marks, a replacement patch may let you keep using the garment. Check both the size of the marked area and how raised the old stitching is before choosing a patch.
Check the Size of the Old Embroidery Area
Measure the widest and tallest part of the old design. Include the faint outline around it. A patch that only matches the visible lettering can leave the old needle marks exposed.
A replacement patch may cover the old design without lying flat over it. If the embroidery is thick or raised, send us clear front and side photos before ordering. Its width and height alone do not show whether a new patch will sit smoothly.
Choose a Patch That Covers the Mark Properly
A simple embroidered patch works well for a logo or text replacement. If the new design has very fine detail or small lettering, share the artwork and the target patch size with PinsFun first. The new patch should be easy to read at its actual size, not just on a computer screen.
Use Sew-On Backing for a Long-Term Fix
For a work shirt, jacket, or uniform, sew the replacement patch around its edge. This handles normal wear and washing better than relying on adhesive alone. If you need help with placement, PinsFun can review the old logo area and recommend a patch size that covers it before production. An adhesive layer can help hold the patch in position before sewing, but should not replace the stitches.
8. Conclusion
You can remove embroidery from many garments by working from the back and releasing a few threads at a time. Stop as soon as the fabric starts to pull or show widening holes. Even careful removal can leave marks. If you are unsure whether the garment will survive the process, ask an alterations professional before cutting.
9. Frequently Asked Questions
Will Removing Embroidery Leave Holes?
It can, especially when the embroidery is dense or the fabric is thin, although steam and gentle smoothing may make small holes less visible.
Can You Remove Embroidery From a Shirt Without Damaging It?
Sometimes. The result depends on the fabric and how densely the design was stitched. Work from the back and release a few threads at a time. Even careful removal can leave holes or an outline.
Can You Remove Embroidery Without a Seam Ripper?
Fine embroidery scissors can work, but a seam ripper gives better control and is less likely to cut the garment.
How Do You Remove an Embroidered Logo From a Hat?
Check whether you can reach the back of the embroidery without cutting the lining or inner support. If you can, release a few threads at a time with a seam ripper. Stop if the front panel starts to distort or show holes.